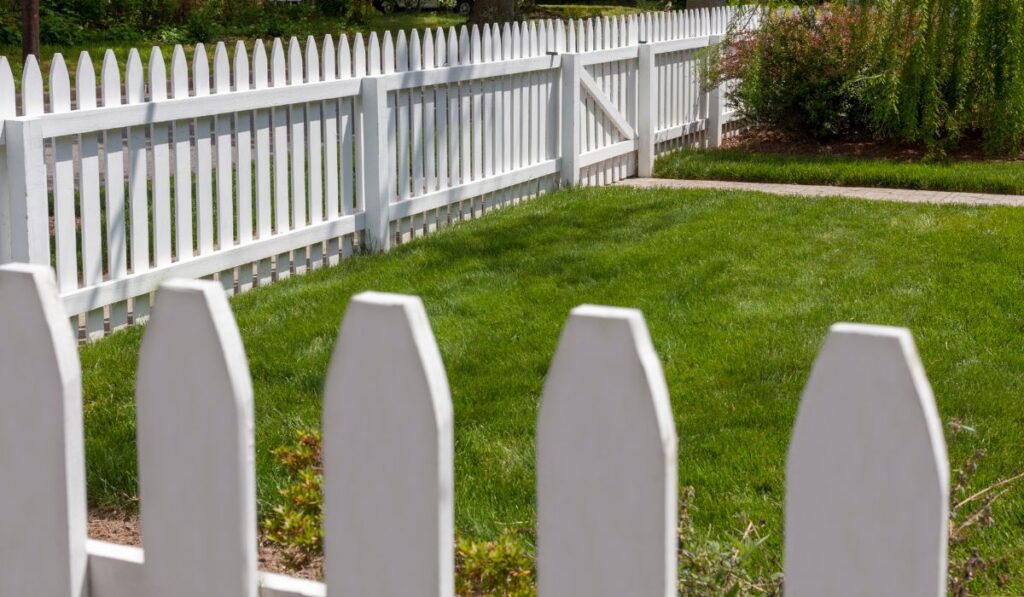
A wood fence is a beautiful addition to any home. And since the advent of the modern suburb, wooden privacy fences have been the standard. But wood is a natural material, and it ages over time. If you’ve had your wood fence for a few years, you may notice that it doesn’t look like it did when it was first installed. If your wood privacy fence has lost its sheen, is looking old, or has even turned gray, it can be saved. One of the best ways to revive an old fence and protect it for the future is to stain your fence. In fact, even new fences can benefit from staining. Staining your new fence can give you great color options and protect your fence for years to come. You should consider staining part of your regular fence maintenance to keep your fence in great shape for as long as possible.
Tip #1: Prepare Your Fence
Skipping this step is the quickest way to waste your time and money and get yourself into lots of trouble. The more you prepare, the better your project will be, and the better your fence will look when it’s done.
What you do to prepare depends on whether you are staining a new fence or an old one. If you are staining a new fence, it is critical that the fence has time to completely dry. The pressure-treated woods that are used for most fencing projects today come wet. That means that they are impregnated with chemicals that help preserve the wood, and when the wood is fresh, those chemicals make the wood moist. The fence needs time for the chemicals to dry out so that the stain can effectively penetrate the wood. Pressure-treated wood typically takes one to two months to dry thoroughly. Also, make sure it hasn’t rained in a few days. If you try to paint a wet fence, the stain won’t get all the way into the wood, and you will end up with disappointing color that needs to be restrained in just a couple of years.
For an older fence, you need to make sure that you have a clean, fresh surface to paint. A power washer set to a low pressure setting can prepare most fences. Make sure to wash away dirt and cobwebs as well as mold and mildew. The pressure washer will also scour away just enough of the surface to give you a fresh surface to stain. If your fence is gray, it could be from mildew, which the power washer will clean off, or because it is very dry. A mild solvent power wash should restore the color before you stain the fence.
Tip #2: Prepare Yourself
Fence staining is a tough job. Depending on the size of your fence, it can take many hours or even days. There is a lot of labor, and if you’re not prepared, it can make a large task even harder. First, make sure you have the appropriate protective gear. At the very least, some sturdy work gloves and eye protection are necessary. Also, make sure you have work clothes and boots that you won’t mind getting dirty. If you plan to use a sprayer instead of a roller and brushes, you’ll also need breathing protection to avoid inhaling an unpleasant mist of fence stain.
Besides preparing your protective gear, make sure to give yourself time. This may be a multi-day project, so consider when you might be able to find the time. One possibility is to do it over a weekend or multiple weekends. Depending on your endurance level, you may want to tough it out and get it done in two long hard days over a weekend, or you might try to do just a panel or two each evening for a week. You can only stain when the wood is dry, so opt for a time when you don’t expect much rain. But also try to avoid working in the hottest part of the day or year. Instead of staining your fence in mid-summer, try mid-fall, when the weather is cooler, but not yet frigid.
Tip #3: Get a Good Stain
It would be a shame to put in all the labor to stain your fence, only to find that the results don’t live up to your expectations—or to find that in just a couple of years, your stain is already fading. The most important decision you can make when staining your fence is what stain to use. Big box stores sell generic stains, but remember that you get what you pay for. Cheap stains will look cheap and won’t last as long. This is not a place to try to save a few bucks. Invest in high-quality stain to get better results. Also, using better stain now will mean you can wait longer before going to all the trouble of staining your fence again.
There are two general types of fence stain: oil-based and water-based. There is some controversy on which is better, and each type of stain has its advantages. At Bravo Fence, we usually prefer water-based stains. They tend to last longer and offer more protection. They also have fewer toxic fumes and are easier to work with, especially if you are doing it yourself. Water-based stains also provide superior UV protection to keep your fence looking newer longer.
The exception to this rule is cedar fences. Cedar is a hard, dense wood. It lasts a long time, but its density makes it harder for a stain to fully penetrate cedar. In this case, we recommend oil-based stains because they are better at penetrating hardwood for a more even, deep coat. However, if you like the advantages of water-based stains, they are still suitable for cedar. You may just have to restrain a little sooner than you would with an oil-based stain.

Tip #4: Get the Right Tools to Stain Your Fence
Sure, you could try to put a nail into a wall by banging it with your fists, but that’s why we invented hammers. Humans are uniquely effective tool creators and users, and there is no reason not to use the best tools to lake your life easier. When it comes to staining a fence, there are three types of tools you could use to apply stain: sprayers, rollers, and brushes. Which you choose depends on a few factors.
If you have a large area to cover, we recommend investing in a sprayer. Many big box home improvement stores carry handheld stain sprayers that are light and easy enough for even beginners. Just make sure to read and follow all the instructions carefully. If you don’t, you could end up with stain that comes out in gobs and splashes, ruining your fence, or your sprayer could even explode, splattering stain all over you and anything else nearby.
If your fence is a little smaller, you could get by with a roller and a brush. You use them just like applying paint. To start, pour some stain in a roller pan and thoroughly wet the roller. Starting at the top, make slow even strokes with the roller, carefully applying an even layer of stain. Use the brush to touch up any spots you miss and to get to difficult areas like corners and between slats.
Whichever method you use, be sure to keep a rag handy to sop up drips and clean up areas with too much stain.
Tip #5: Give Yourself Time to Stain Your Fence
You know the saying, “haste makes waste.” It’s as if it was custom-made for fence staining! Moving too fast will come back to you in the end in ways you won’t like. Make sure that you get a good, thick coat on your whole fence. Don’t rush. If you are using a semi-transparent stain, the stain will look different if you apply it in a thicker or thinner coat. Try to be as even as possible, and expect to apply two coats. There’s no prize for finishing in a single day, so if you find you are getting tired, stop before you get sloppy. Give yourself plenty of time.
Tip #6: Protect Your Property
Your goal is to get an even coat of stain on every surface of your fence, but not on every surface of your yard. Lay a drop cloth in the area you are working and move it along with you as you move along the fence. A drop cloth will protect the plants, grass, or other landscaping near the base of the fence. This is especially important if you use a sprayer since the mist can get to places you didn’t anticipate.
If you share a fence with a neighbor, be considerate of their property as well. Ideally, you can discuss the project with your neighbor ahead of time. It is best to stain both sides of a fence. After all, sealing one side of the wood but not the other doesn’t provide any of the preservative benefits of wood stain. Arrange to do both sides of the fence, if at all possible.
Tip #7: Watch the Weather
Fence stain starts to dry as soon as you apply it but can take 4 hours before it is dry enough to withstand rain. If the forecast calls for a chance of precipitation in the afternoon, don’t bother starting to stain in the morning. In addition to watching for rain, other weather factors can make staining more or less effective. Aim to stain your fence on a day that is slightly cool and overcast. Staining in direct sunlight will cause the stain to dry faster and can cause streaking.
Tip #8: Get Someone Else to Stain Your Fence
Maybe this should have been tip #1! The truth is that staining a fence is backbreaking labor and requires some experience and expertise to get it just right. That’s not to say that it is entirely out of the realm of DIY projects, but it’s a risk. Some homeowners expect to save money staining a fence themselves. But remember, there are plenty of hidden costs. Most homeowners don’t already have all the tools they will need. That could mean investing in a sprayer, brushes, a drop cloth, and protective breathing gear, at the very least. If you’re not staining a brand new fence, you will also need to buy or rent a power washer. Taken together, you may spend hundreds of dollars just to get your equipment together. And then there is the time. Remember, time is money. If you value your time, you may see how professional staining is a much better option. And you’ll be surprised at just how affordable professional fence staining is. Contact Bravo Fence Company today for your free, no-obligation quote.